Beschoi HD 1080P 170 Degree Wide Angle Car Dashcam with 2.7″ Display

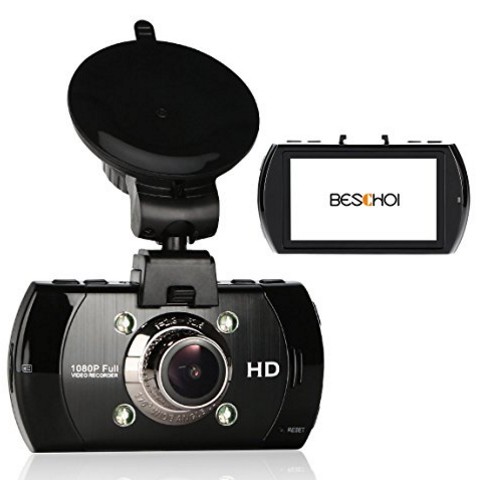
First thing that stands out is the build quality of this dash cam. This dash cam includes a 32Gb Micro SD memory card which is a bonus because it makes a true plug and play without having to spend more money for a memory card. It has a nice piano black finish on the side, and brushed metal look on the front. This dash cam uses 6 glass lens to provide really good optics for the video recording. On the back of the unit, there is a large 2.7” color LCD for you to view live video and navigate the menu. The buttons are located on the side and the top of the unit.

Once you power up the unit with the include power cable, the dash cam will turn on automatically and begin recording. If your car’s 12V outlet is controlled by ignition, then the dash cam will turn on and turn off with the car’s ignition. The power cable is long enough for any vehicles. The suction cup mount just requires a simple turn of the center knob ¼ turn and it will lock in place.

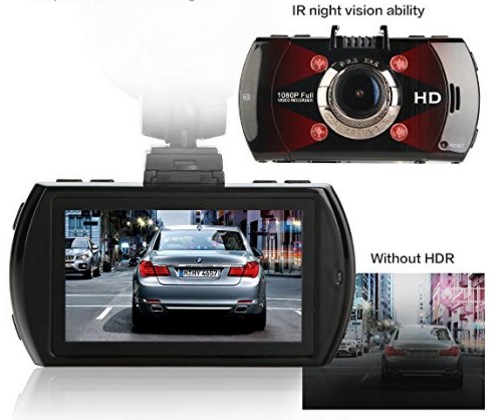
I have tested this dashcam in both daytime and nighttime and the video quality of the recording has great exposure to show all the details. You can easily see license plate numbers on cars which is important for any dashcams. It shows how well the glass lens perform on this camera. There is a built in G Sensor, so if you have any impact, the video will be locked automatically and saved so it won’t be over written. If you need to copy it over to your PC, you can simply plug that camera to the computer or what I prefer is to remove the Micro SD card and plug it to a card reader on your computer. You will be able to browse through the video clips and view them.

Overall, this dashcam works very well with excellent video quality. With the included memory card, it’s a good buy if you are shopping for a dashcam.
 

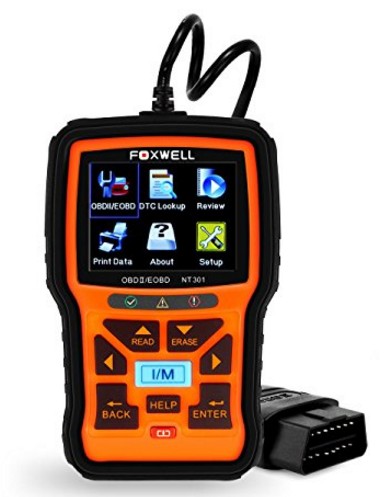
FOXWELL NT301 OBD2 Diagnostic Scan Tool

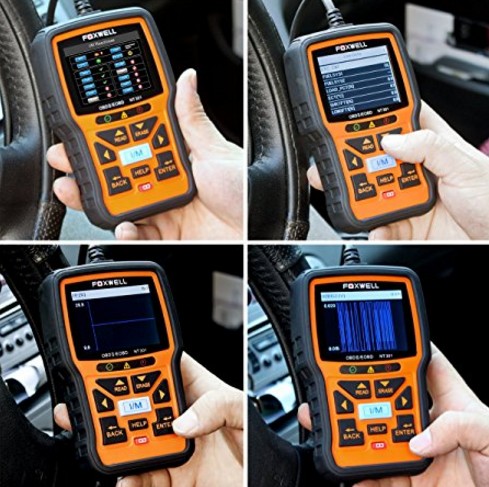
This OBDII scan tool has a large color LCD display to make navigation very simple and easy. The tool is protected by a rubber surround to absorb any minor shock from use. The unit does not require any batteries to operate. Most cars manufactured from 1996 will support OBDII diagnostic. All you need to do is plug it into your car’s OBDII (DLC) port and it will power up using the car’s power. You can then start the vehicle to read any trouble codes or pending codes. If there are trouble codes, you can use this tool to erase the code. Of course you should fix the issue or else the code will return.

The tool also have quick access buttons to read codes, erase codes, and I/M readiness check. There are 3 LEDs in the middle of the screen to show you if you have any trouble codes, or pending codes along with audible beeps. If you want to venture into more advanced features, this tool is able to show live data and record data. You can also connect the unit to a computer with the included USB cable to print the test result. There is an option to look up definition of trouble codes simply by entering the trouble code. Once you are done, just unplug the unit from the car and put away the tool. Can’t be any simpler. Overall it’s a well designed tool for all the DIYers.


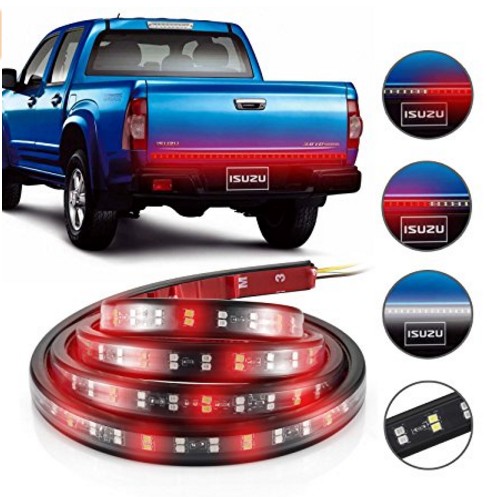
simdevanma Double Row LED Tailgate Light Bar

This 60 in LED tailgate light bar uses 180 pieces of LEDs to illuminate the red and white color for the brake/park/turn/reverse. The length is measured to be exactly 60 in. The LEDs are housed in a soft rubber tube that is flexible. Tip: when you first get it, it’s coiled in a roll. If the weather is cold and you need to straighten it, heat it up a bit with a heat gun to soften the plastic. The wiring comes out of the left side of the light bar and goes to a 4 pin flat connector. You can either plug it directly to a trailer hitch connector or cut the connector and hard wire it to the tail light. I found there are 2 reverse wire which was not mentioned in the guide. The red wire is the reverse full bright, and the yellow wire is the reverse half bright. You will want to connect to the red wire for full brightness.

The back of the light bar comes with 3M double sided tape across the entire length which is nice because it will make the install easy and permanent. I tested all the functions of each wire and you can see that in my video. Overall design is clean and sleek. Next step is to install it onto the truck. But I suggest you do the same and test it first to make sure the unit works fine and also to understand the wiring if you need to hardwire it.

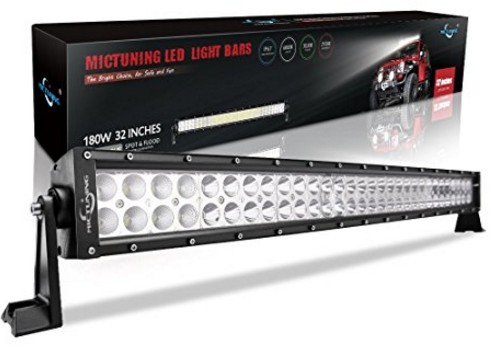
MICTUNING 32″ Inch 180W LED Light Bar – 13200 Lumens

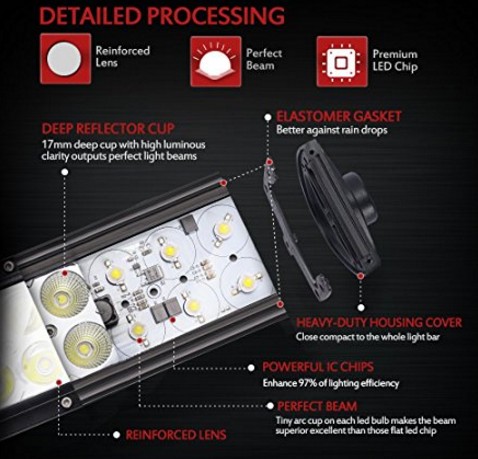
This is a 32″ LED light bar from MICTUNING. It’s rated at 180W with 60 X 3W LED chips. The light output is rated at 13200 lumens at 6000k which is pure white. The light bar comes well packaged in bubble wrap and includes all mounting hardware along with the relay wiring harness. There are 8 LEDs on each side with flood light reflectors. The center LEDs have spot light reflectors. The construction of the housing is all aluminum. The front lens is made of polycarbonate. The unit feels solid.

The light bar wiring is bare wire, so you will need to use the included crimp connectors to connect to the relay harness. The relay harness has a 10 A fuse and the output from the relay goes to 2 pairs of wires for you to connect to 2 light bars if you need to. The harness on/off switch is illuminated and has plenty of length for you to run it into your vehicle.

I tried the light at night and the beam pattern is a large spot circle which gives you a bright center spot light. At a 100 feet in total darkness, the light bar was able to illuminate the area without problem. The light bar did not get too hot even after running it for about 30 minutes. Keep in mind, at 32 in, this is a very wide light bar, so it can be either mounted on the roof or on the front bumper.