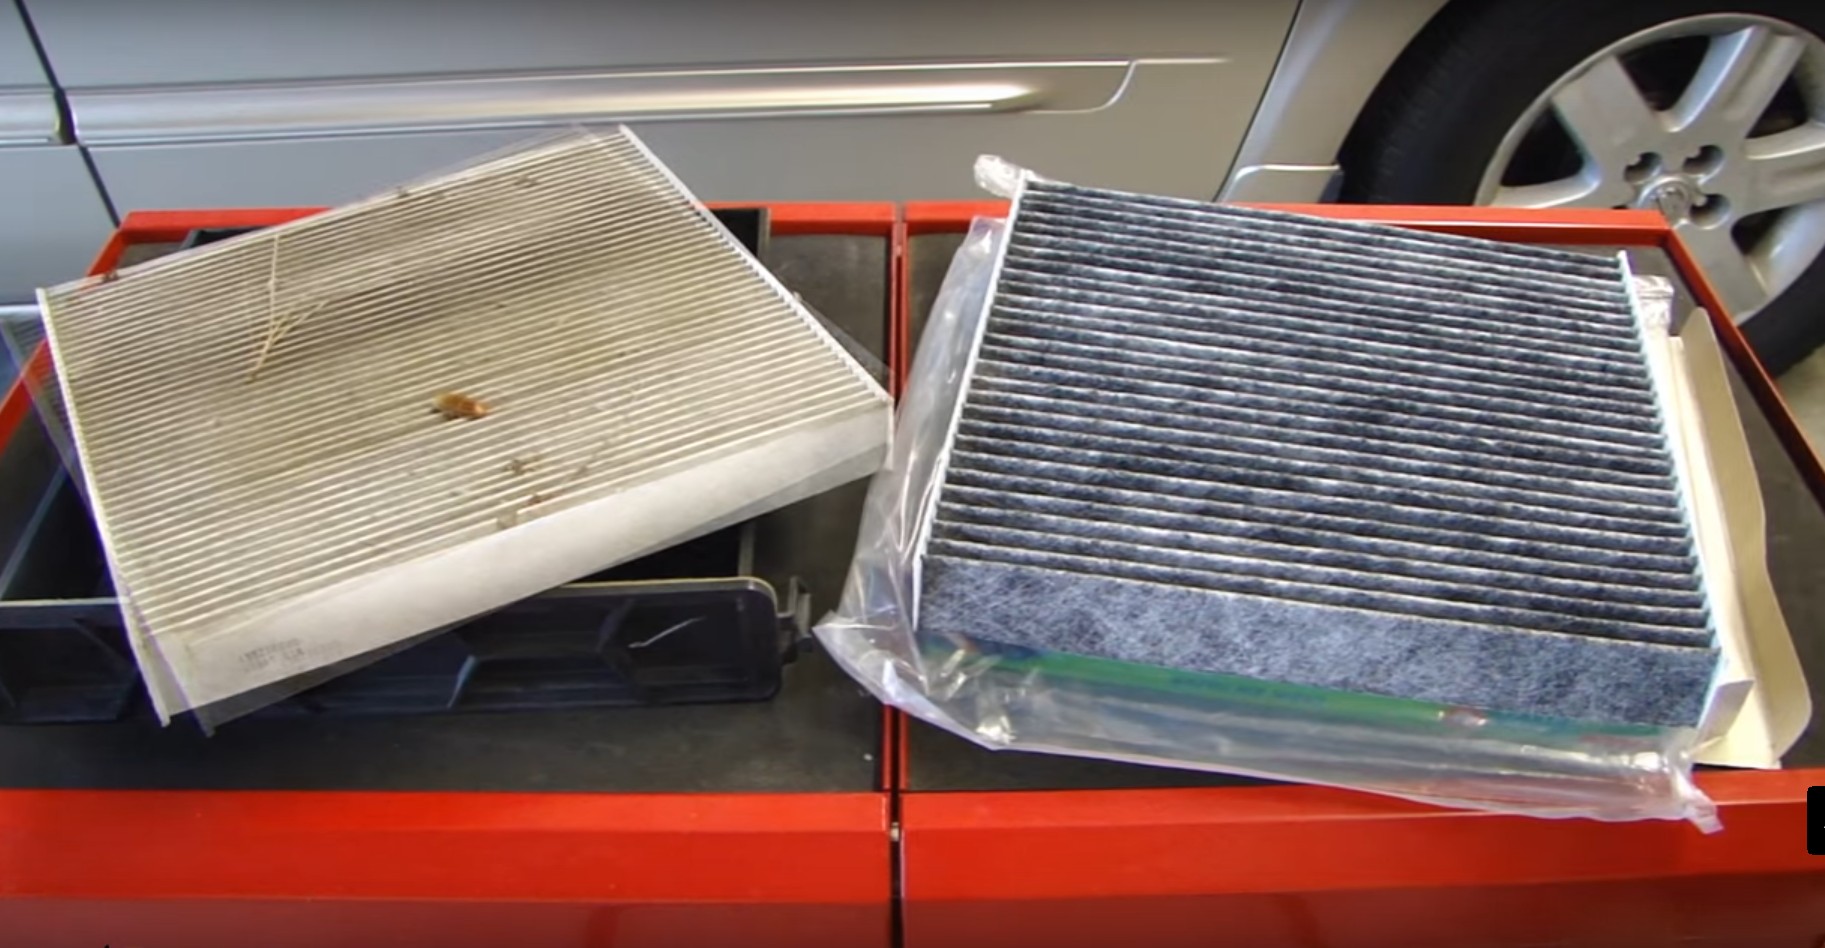
Why is your in cabin filter black?

Most modern cars these days come equipped with an in cabin air filter. The purpose of this filter is to clean the air vented from the outside and vents to inside your vehicle. Typically you should change it every 24,000 miles or check/replace every 2 years. This interval can be shorten if you drive in dusty or polluted environments.

You will find the in cabin air filter located behind the glove box and procedure will vary depending on the vehicle you have. In this video I will show you a comparison between an old air filter and a new one.

CACAGOO TPMS Kit with Temperature Monitor

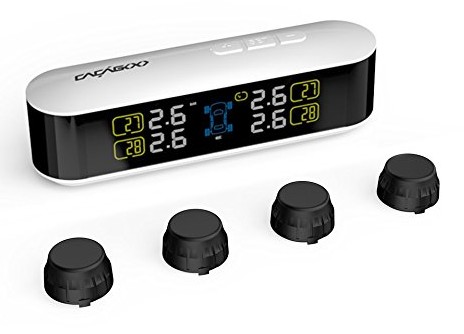
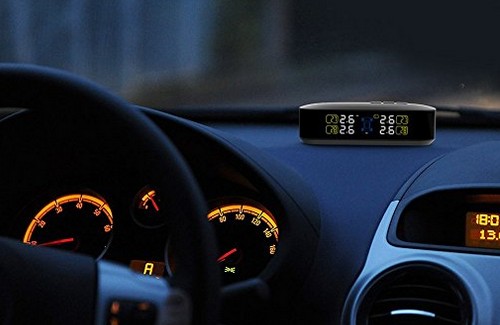
I got this TPMS kit to install on my vehicle. Everything is nicely packaged and protected in foam. The display unit has a nice large display with backlight so you can see the info clearly in daytime or nighttime. The 4 TPMS sensors that came with the kit have already been programmed at the factory to communicate with the receiving display unit. This saves time in the installation.

The display unit has a built in rechargeable battery which allows for operation for 2-3 months on single charge. It’s able to sense when there are no moving on the sensor and go into sleep mode to save battery. It will wake itself up when the sensors begin moving. The sensors are able to relay both tire pressure (bar, psi) and temperature (C/F). If you need to manually turn off the display unit, just hold the minus button for 6 secs and the unit will turn off (repeat same step to turn it on).

There is an included black plastic tool used to take apart the sensors so you can replace the internal battery. Just separate the two halves of the tool and remove the plastic ring on the sensor. Then place the keyed tool on each side of the sensor and turn opposite direction. It just unscrews and you will see the button cell battery. After replacing battery, just put it back together.

The kit includes a wrench and nuts for use with installing the sensors. The installation of the sensor is very easy. First install the nut, then install the sensor, then back the nut out until it reaches the sensor and tighten with the wrench. This nut helps the sensor from loosening with regular driving. Each sensor is stamped with RR, RL, FL, FR which corresponds to the location of the wheel. So make sure you install it accordingly. The display unit will show the 4 sensor’s reading in 4 quadrants. Once all 4 sensors are installed, start driving around and the display unit will automatically begin getting data from each sensor and display the info. And that’s it with the entire setup. This kit is very easy to adapt to any vehicles.
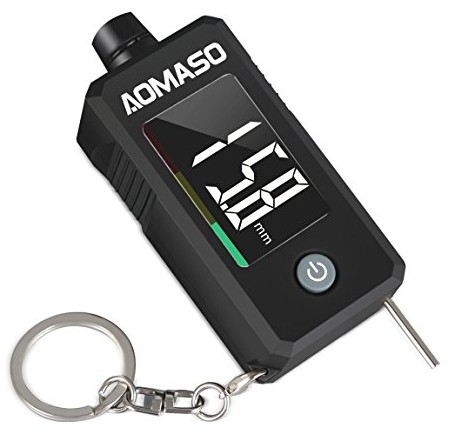
AOMASO 2-in-1 Digital LCD Tire Pressure Gauge and Tread Depth Gauge

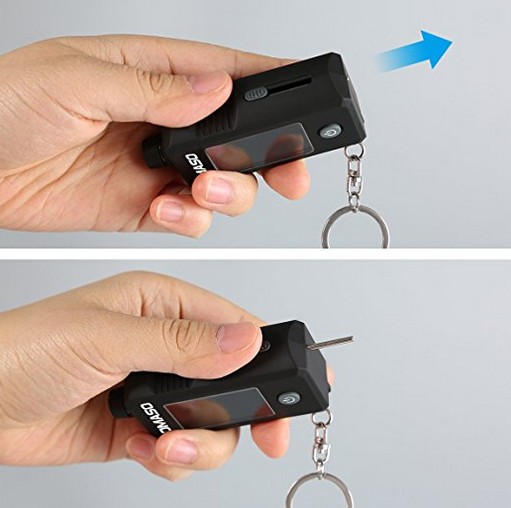
This AOMASO 2-in-1 tire gauge and tread depth gauge is a must have for all vehicle owners. It’s very compact in size and you can put it in the glove box so you have it anywhere you go. With a push of the power button, the color backlit LCD turns on, and you can begin measuring the tire pressure. The unit will turn off automatically to save power. If you need to measure tread depth, with the unit on, just push the power button once, and it will toggle to the tread depth mode. Slide the side metal ruler out and insert the tip into the groove of the tire tread. Now push down until the tire gauge touches the top of the tread, and the display will show in mm or inch for the remaining tread you have. There is also a red, yellow, green bar at the bottom to give you indication if you need to replace the tire. The tool is very handy and you can watch the full video review below.

Honda Odyssey Sliding Door Rail Rubber Stopper Replace (05-10)

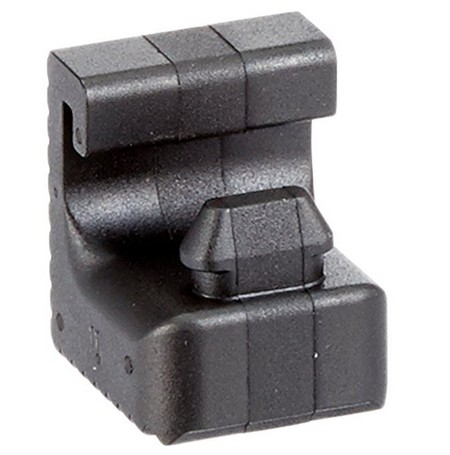
If you have a 2005 – 2010 Honda Odyssey, you should check out this video because there is common problem with the sliding door rail rubber stopper falling off. If you happen to find this part on your garage floor or driveway, you may not necessarily  recognize where the part came from. Also the old part will be deformed and sticky making it unrecognizable.

In this video I will show you what this part is on the Honda Odyssey (2005 to 2010). The top slider rail has a rubber stopper that will fall off after several years. You can easily replace this part on your van and this video will show you how.

You can buy the replacement part from your local dealer or on Amazon. Below is the Honda part number and the Amazon link.

Part Number: 72557-S0X-A00
Honda  Slide Door Rail Stopper